Documentation
Account Setup
Connect and verify your Stripe account so you can accept payments.
Event Vault processes payments through Stripe Connect, which means money from ticket sales goes directly to your own Stripe account. Before you can sell tickets, you need to connect and verify that account. Open Account under the Sales → Stripe section of the Management Console sidebar.
Tip
Stripe must be enabled for your organization. If the Stripe pages show a “not enabled” message, contact Event Vault support to turn on payments.
Verifying Your Account
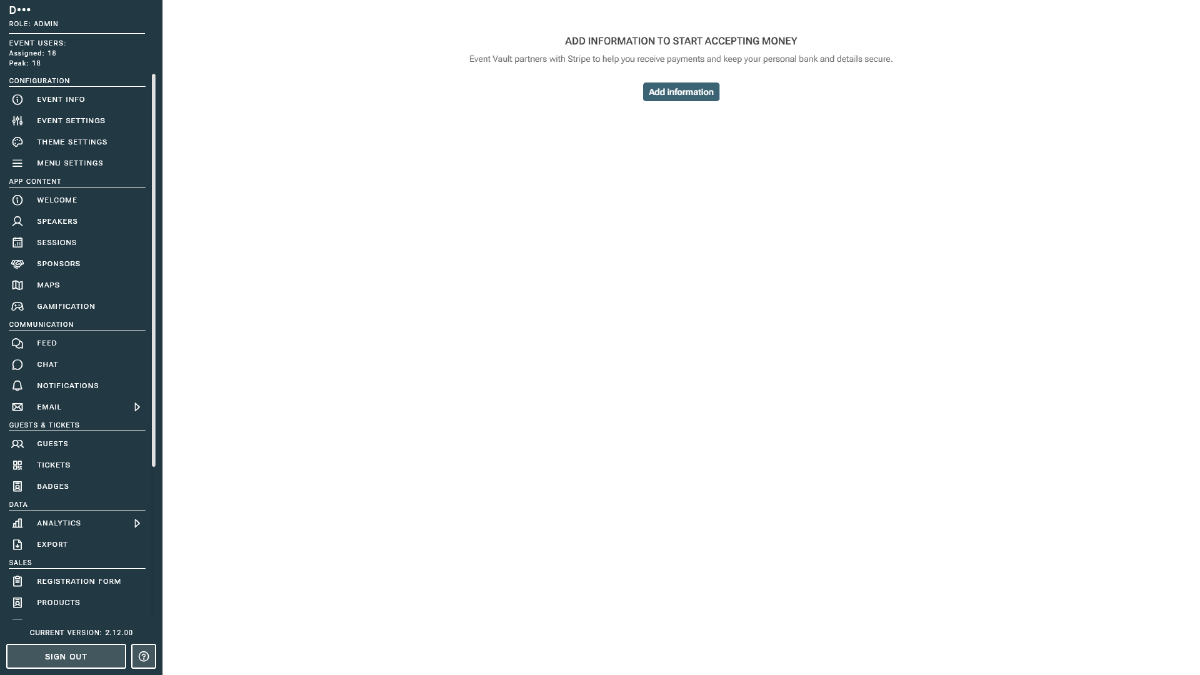
- Open the Account page. If you haven’t connected Stripe yet, you’ll see the Start Stripe Account Verification card.
- Select the Country where your business is registered. This determines the verification requirements, so choose carefully, as it can’t be changed later.
- Click Begin Verification.
- Complete Stripe’s onboarding steps directly inside the console: business details, identity, and bank account for payouts.
Once verification is complete, the page switches to an account-management view where you can review your account status and update details at any time.
Sandbox Mode
While your event is in sandbox mode, a banner is shown and payments are simulated, so no real money moves. This is ideal for testing your products and registration form end to end.
When you’re ready to go live, you’ll complete Stripe verification again for your live account. Sandbox and live are separate, so verifying in sandbox does not carry over.
Note
You must finish Stripe verification before real payouts can be sent. Incomplete verification can cause Stripe to hold your funds.
After Setup
With your account connected you can:
- Monitor incoming Payments and available Balances
- Track Payouts to your bank
- Download tax and account Documents
Tax on tickets is set per product, not here. See Tax Settings on the Products page.