Invitations & Access
How to invite guests and manage access to your event.
Importing & Inviting Guests
- Go to the Guests section in the Management Console for your event.
- Click INVITE GUESTS to open the invitation interface.
- Import guest data from a CSV file, or add guests manually.
- Use the OVERWRITE EXISTING DATA toggle only if you need to replace all digital card data for the guests in your CSV.
Data Format
Format of the CSV file, including headers and example rows.
| Header | Format | Contains | Required |
|---|---|---|---|
| String | Guest Email | YES | |
| NAME | String | Guest Full Name or First Name | |
| SURNAME | String | Guest Surname | |
| ORG | String | Guest Organization | |
| ROLE | String | Guest Role | |
| TEL | String | Guest Phone Nr with Country code if available | |
| URL | HTTPS | A URL That the guest could set or if they specified anything during sign up. | |
| COUNTRY | String | Guests country or origin | |
| TYPE | String | Guest Registration Type |
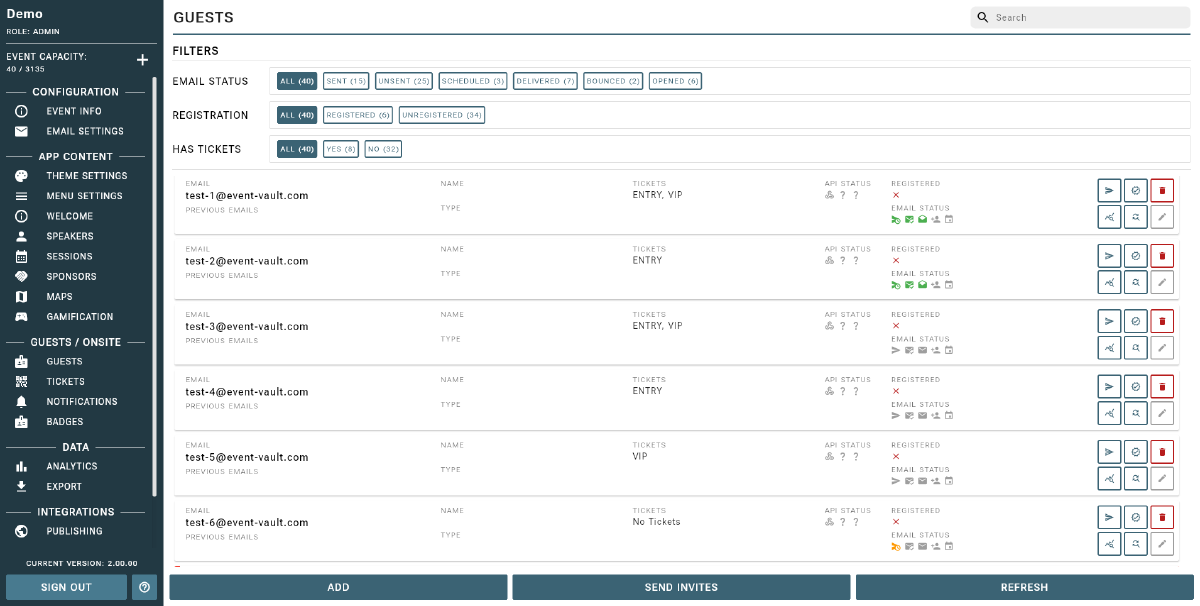
Managing Invitations
View and manage the status of each invitation from the guest list. Each guest’s invitation shows one of the following delivery statuses:
- Unsent — the invitation has not been sent yet.
- Scheduled — the invitation is queued and will be sent shortly.
- Sent — the invitation email was delivered successfully.
- Opened — the guest has opened the invitation email.
- Bounced — delivery failed. Check that the email address is correct and resend.
Resending an invitation: Click the Send icon next to a guest to resend their invitation email.
Transferring to a new email: If a guest’s email address changes, use the Transfer option to move all their data — including digital card information and event access — to the new address.
Force Verify: If a guest does not receive their verification email, a staff member or admin can manually mark the guest as verified directly from the guest list. This allows the guest to access the app without completing email verification.
Public Access via Code
You can allow guests to self-register without a personal invitation by enabling Code Access. When enabled, anyone with the shared access code can register for the event.
To enable code access, go to the Event Settings page and turn on the Code Access feature flag. Once enabled, the access code is displayed and can be shared with your audience.