Managing Event Maps
How to add and manage maps for your event.
Event Vault allows you to upload and manage maps for your event venues, making it easier for attendees to navigate your event spaces.
Accessing the Maps Section
- Log in to the Management Console.
- Use the navigation menu to select Maps under your event.
Adding a New Map
- Click the CREATE MAP button at the bottom of the Maps page.
- Fill in the map details:
- Name: Enter a descriptive name for the map (e.g., “Main Hall”).
- Description: A short description or navigation note for the map (e.g., “Ground floor — use the main entrance on East Street”).
- Sort Number: Set the order in which this map appears relative to others.
- Image: Upload a clear image of your map (e.g., a floor plan or layout).
- Click Save to add the map to your event.
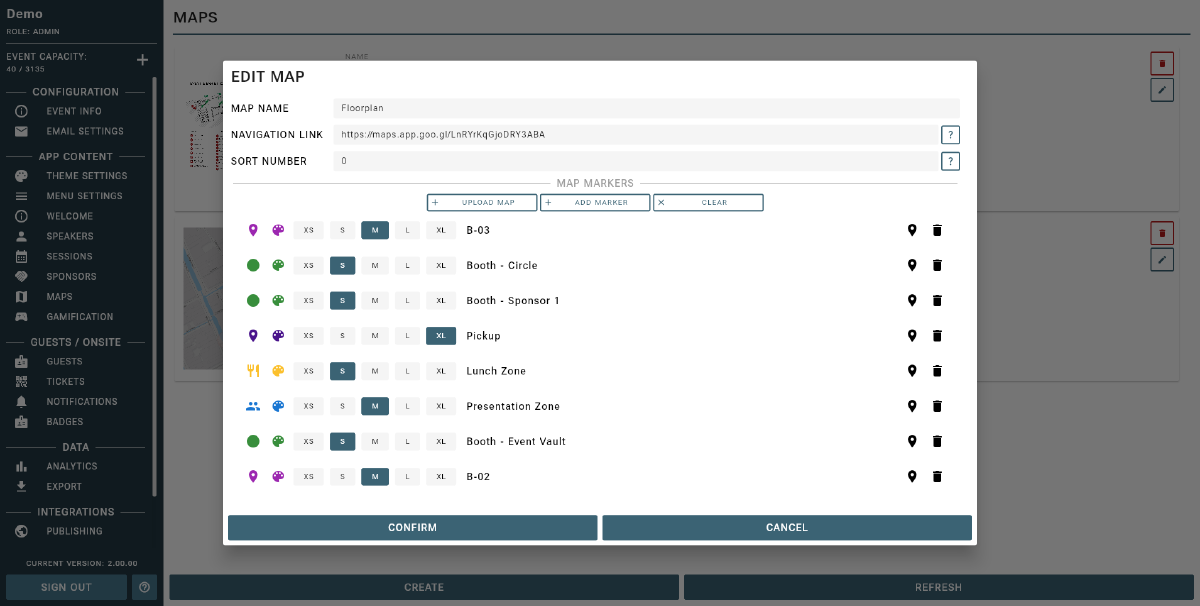
Customizable Map Markers & Dynamic Legends
Event Vault features a powerful map marker system:
- Customizable Markers: Place markers anywhere on your map to represent rooms, booths, entrances, or any important location. When creating a marker you can set its name, color, icon, and position on the map image by dragging it into place.
- Dynamic Legends: Legends are generated automatically in the app, so attendees can easily identify what each marker means.
- Session Linking: If a session’s location matches a map marker, clicking the session location will take attendees directly to the map and highlight the relevant marker.
- Interactive Experience: Tapping a marker in the app can show details, link to sessions, or provide navigation tips.
Tip
Use clear, consistent marker names and colors for the best attendee experience. Linking sessions to map markers helps attendees find their way quickly!
Editing or Removing Maps
- To edit a map, click the Edit icon next to the map you wish to update, make your changes, and save.
- To remove a map, click the Delete icon next to the map you want to remove.
Tip
Upload high-resolution map images for best results. Use the map description to provide navigation tips for attendees.