Push Notifications
How to send and manage push notifications for your event.
Push notifications let you keep attendees informed in real time. Use them to send important updates, session reminders, or announcements directly to attendees’ devices.
Sending a Push Notification
- Go to the Notifications section in the Management Console for your event.
- Click CREATE NOTIFICATION to open the notification creation form.
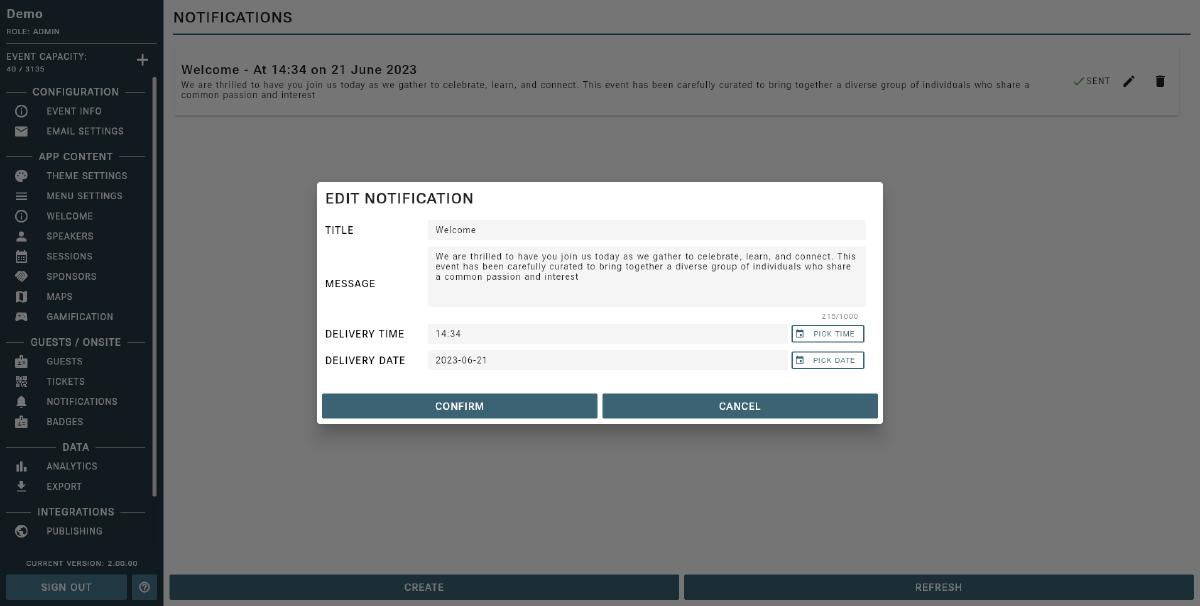
- Enter the following details:
- Title: The notification subject line, shown in bold on the device.
- Message: The notification body — supports up to 1,000 characters.
- Delivery Date & Time: When the notification should be sent. The time is interpreted in your event’s configured timezone — ensure your event timezone is set correctly in Event Settings before scheduling.
- You can send a notification immediately by setting the delivery time to now, or schedule it for a future date and time.
- Click Save to schedule the notification.
Tip
Notifications can be edited or deleted up until the moment they are sent. Status indicators show whether a notification has been sent (green check) or is still pending (red cross).
Managing Notifications
- View all scheduled and sent notifications in the notification list.
- Use the Edit or Delete icons to modify or remove a notification before it is sent.
- Once a notification has been sent, it cannot be edited or deleted.
Tip
Push notifications are a powerful way to keep attendees informed. Use them for important updates and reminders — not for excessive messaging.