INITIAL SETUP
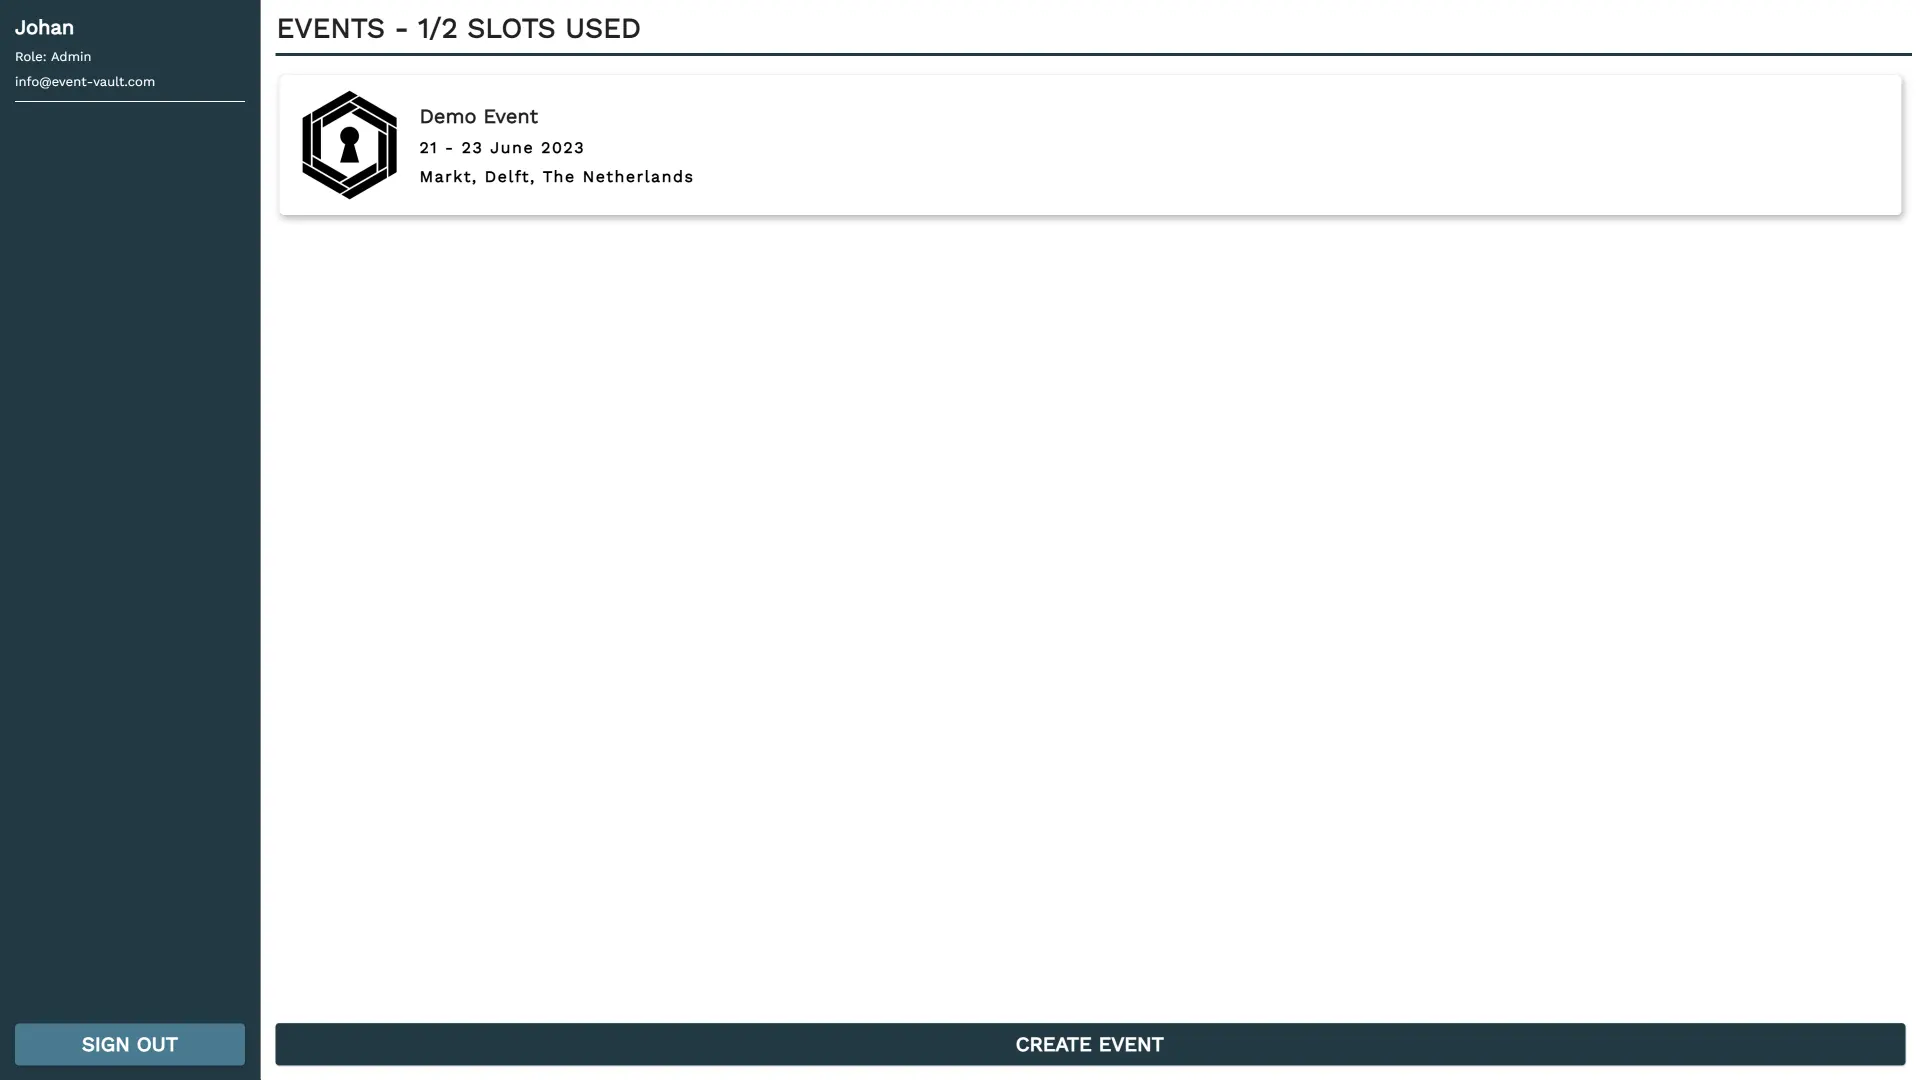
This section provides a step-by-step guide to setting up your event after logging into the Management Console. Upon login, you will encounter a screen divided into two main areas. On the left, represented by a blue column, you'll find the navigation pane. This displays your current role within the organization and the account to which you are logged in. Beneath this, you will see additional navigation options when you are inside an event. This area also shows your current number of events, available event slots, and guest capacity. Both event slots and guest capacity can be expanded by purchasing more at any time, and these resources can be allocated across your events as needed.
On the right side of the screen is the content pane, which displays the title at the top and the relevant content beneath it. In this instance, the content consists of an overview of all your created events. Clicking on an event will allow you to modify its various aspects. At the bottom of the screen, you will find the action bar that displays all available actions related to the current page.
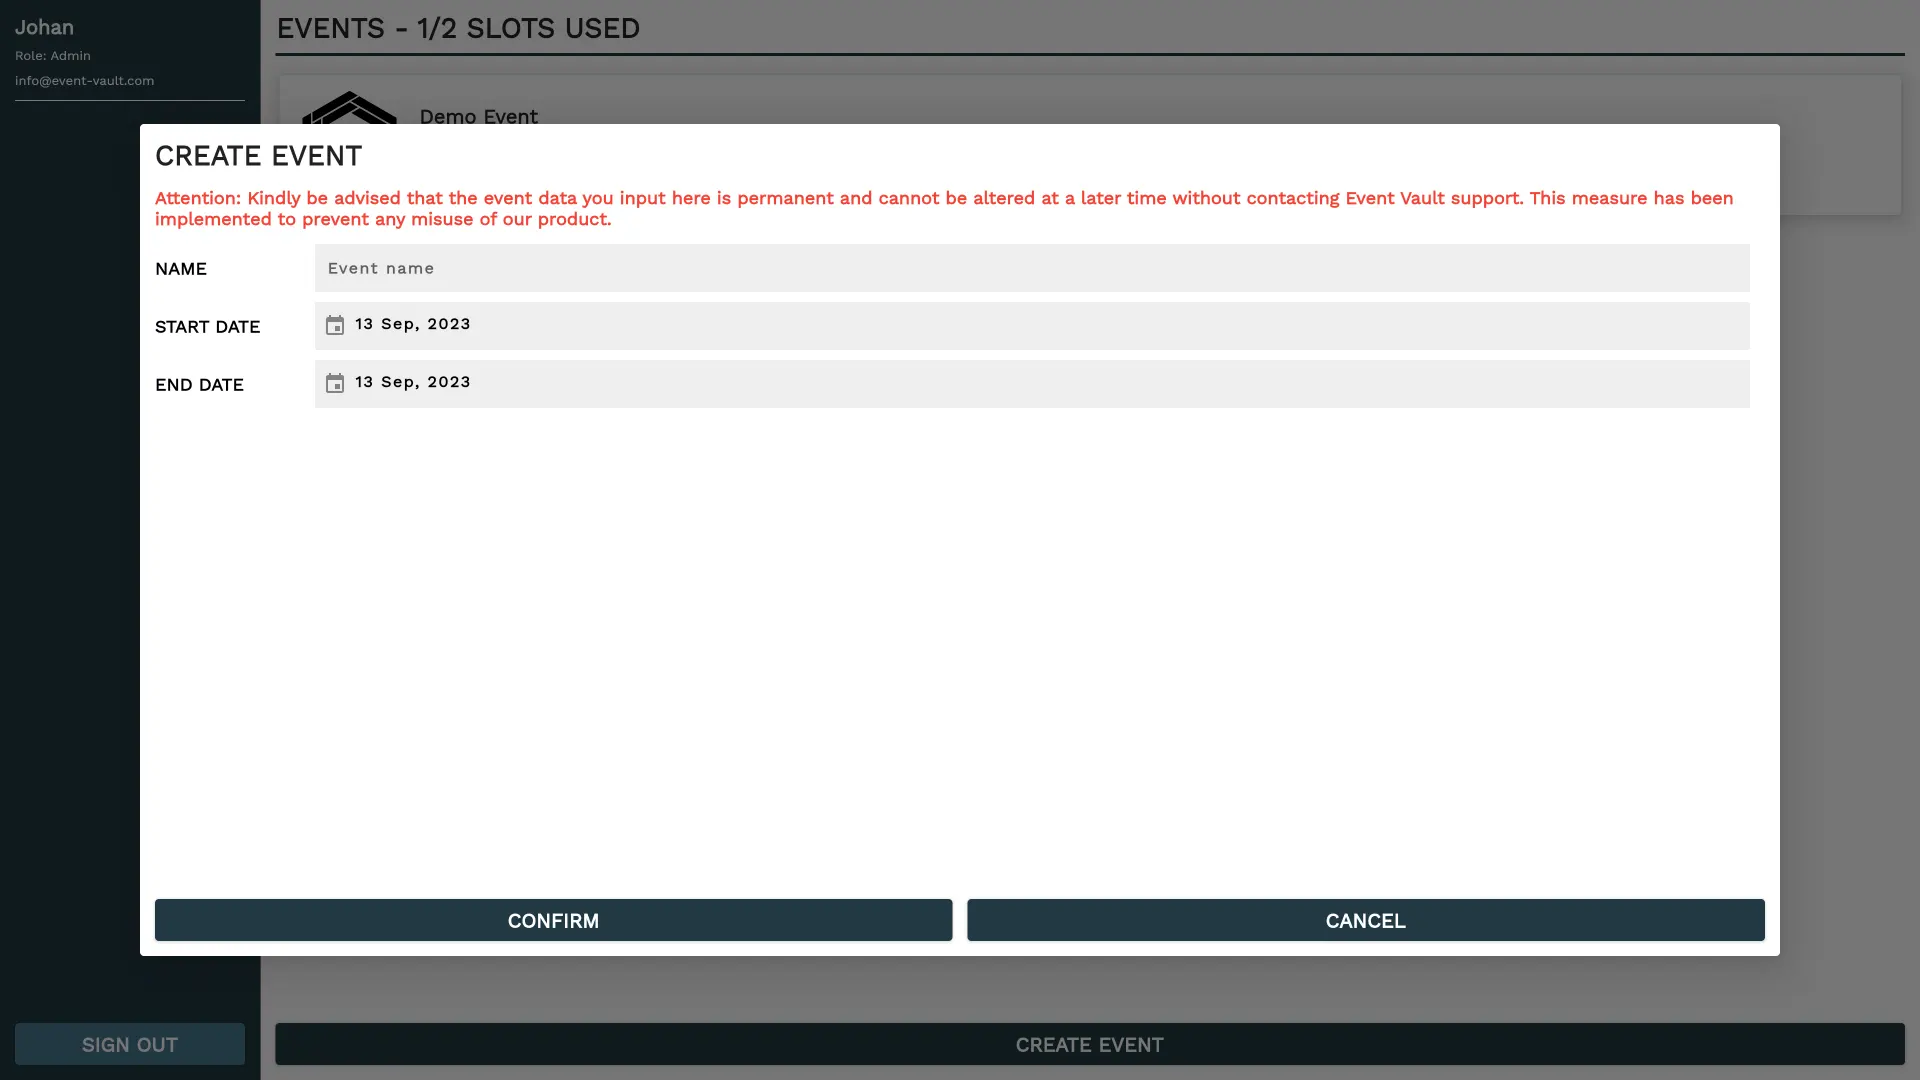
To start a new event, click on the 'CREATE EVENT' button found in the Action Bar. This will open an interface, as illustrated in the accompanying image, where you can enter your event's name, along with its start and end dates. After clicking 'Confirm,' the new event will appear in your event overview. To proceed with further setup, click on the newly created event.
Please be aware that these three fields are not editable once set, unless you request assistance from our support team. This measure is in place to prevent system exploitation, and we appreciate your understanding.
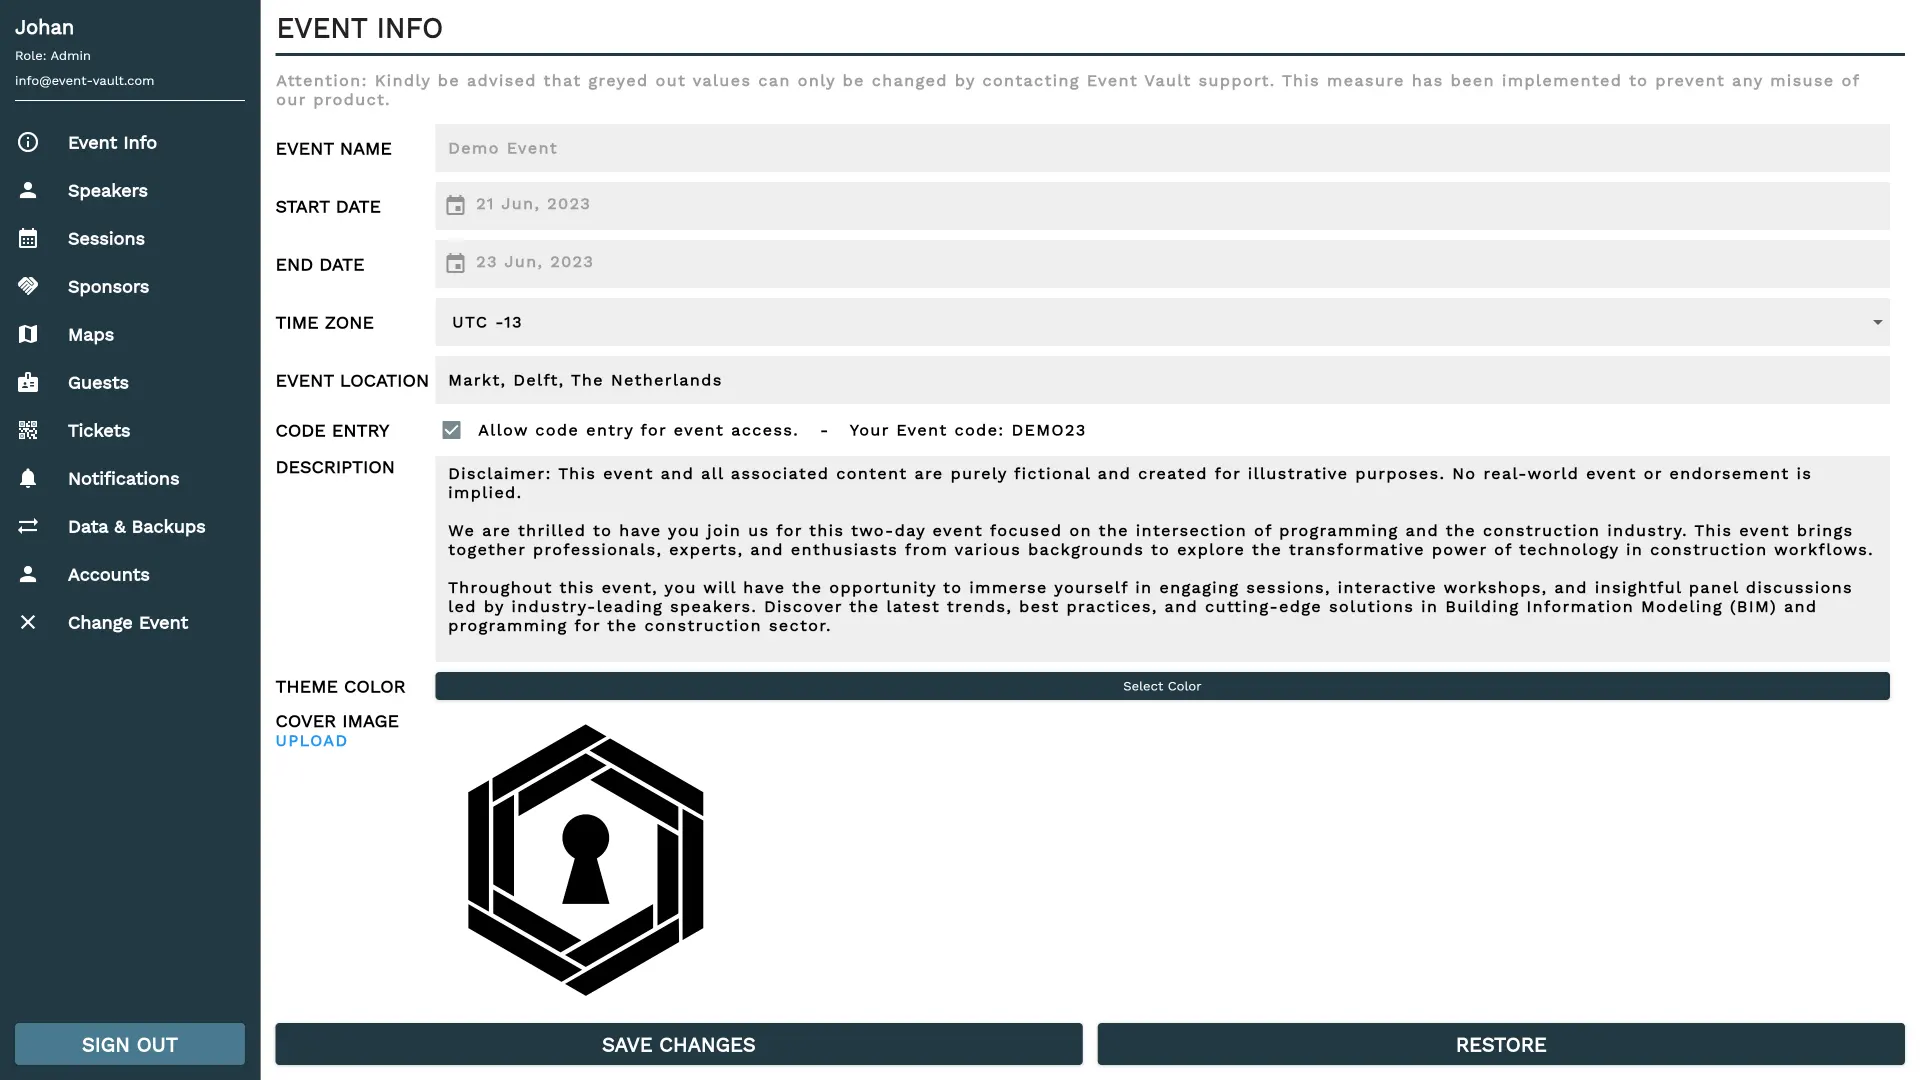
Upon clicking an event, you will be directed to that event's 'Event Info' page as shown below. Additionally, the navigation menu will populate with links to all other relevant pages for this event. On the 'Event Info' page, you can specify:
| FIELD | DESCRIPTION |
|---|---|
| EVENT LOCATION | Indicate the geographical location where the event will take place. |
| TIME ZONE | Select the time zone appropriate for your event. This setting will affect the timing of notifications sent out related to the event. |
| CODE ENTRY | Enable this option if you wish to make your event public, allowing individuals to gain access by entering the designated code. |
| DESCRIPTION | Input a greeting or introductory text, which will be displayed on the event's cover page within the companion app. |
| THEME COLOR | Select a color that will be used to theme the companion app in various ways. |
| COVER IMAGE | Upload an image that will serve as the event's cover photo within the companion app. |
Any modifications you make can be confirmed by clicking the 'SAVE CHANGES' button. If you wish to undo your changes, simply click the 'RESTORE' button.
 CONTINUE TO SPEAKERS