MAPS
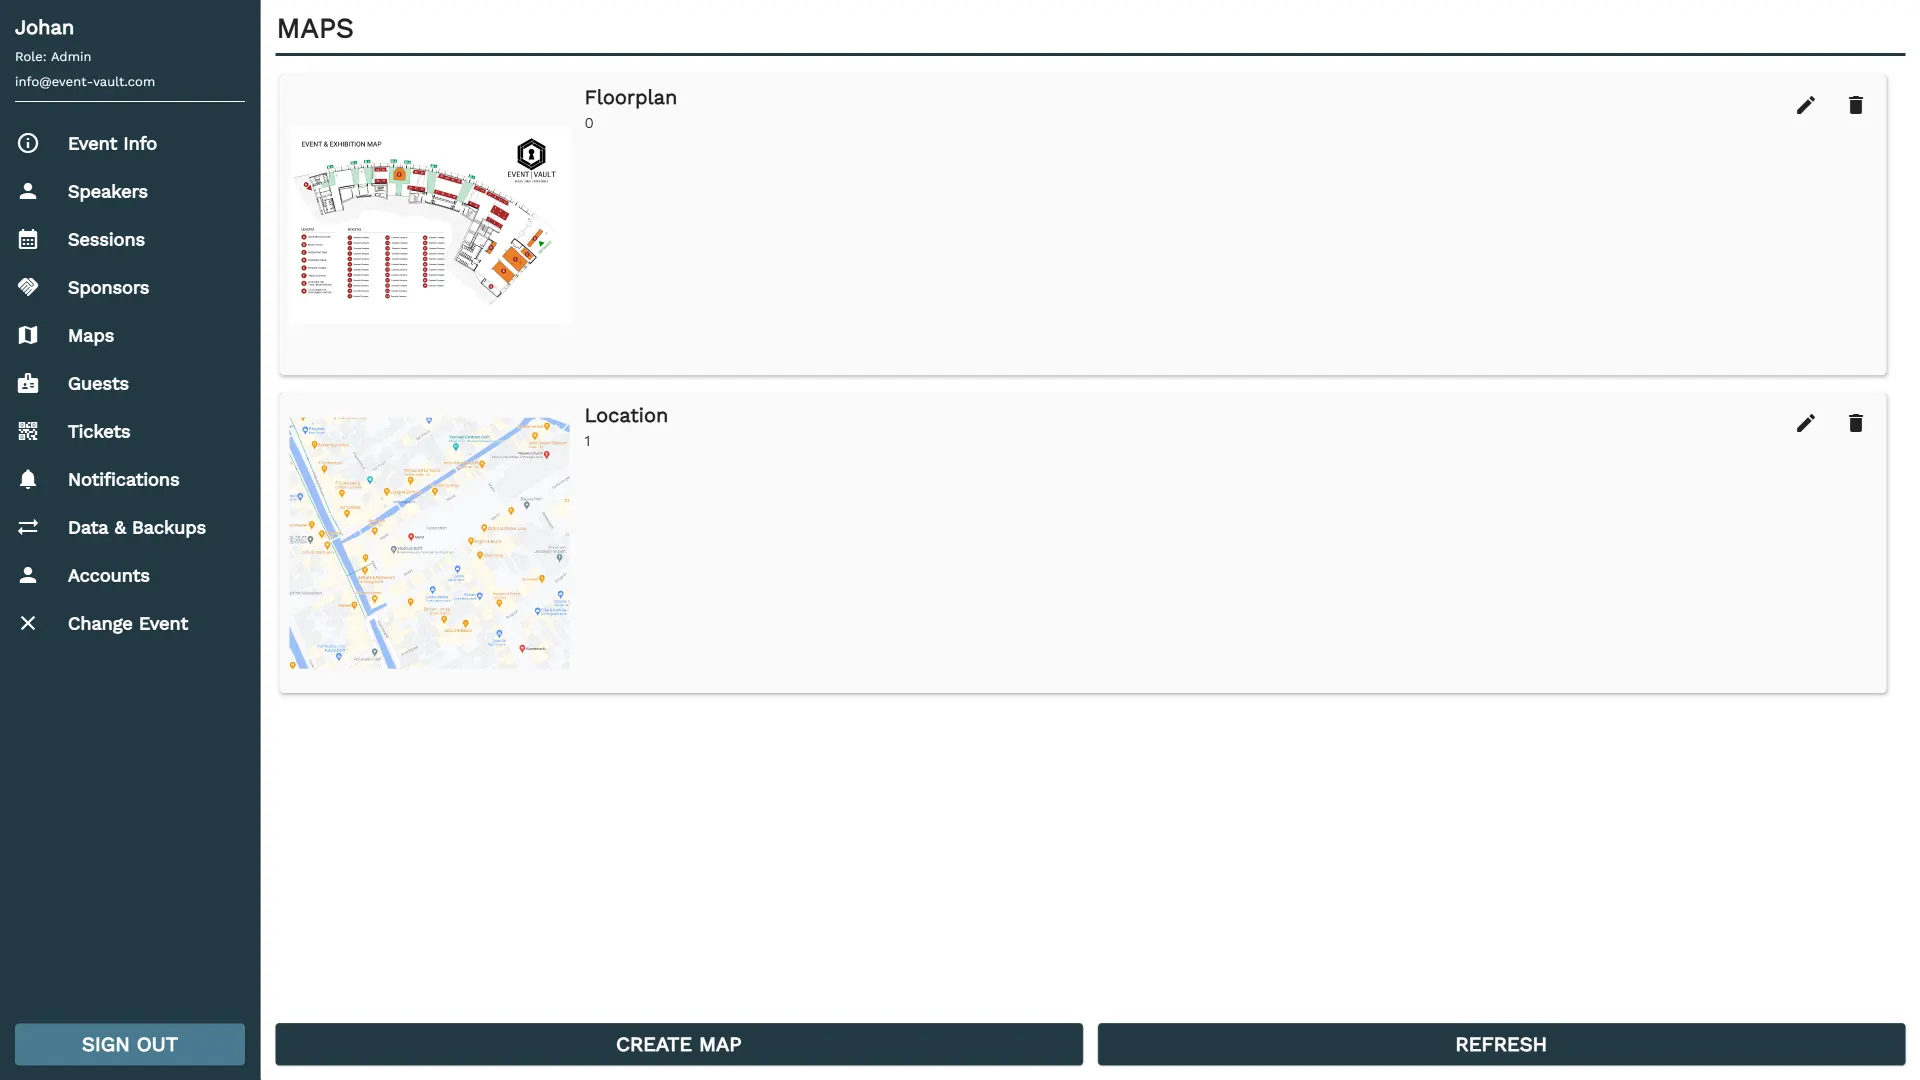
This section provides a step by step guide on how to add maps to your event, to start first navigate to the maps page via the Navigation Menu on the left, once there you should see a list of maps if you already have some as shown below or a blank list. At the bottom you should see 2 buttons, CREATE MAP and REFRESH,
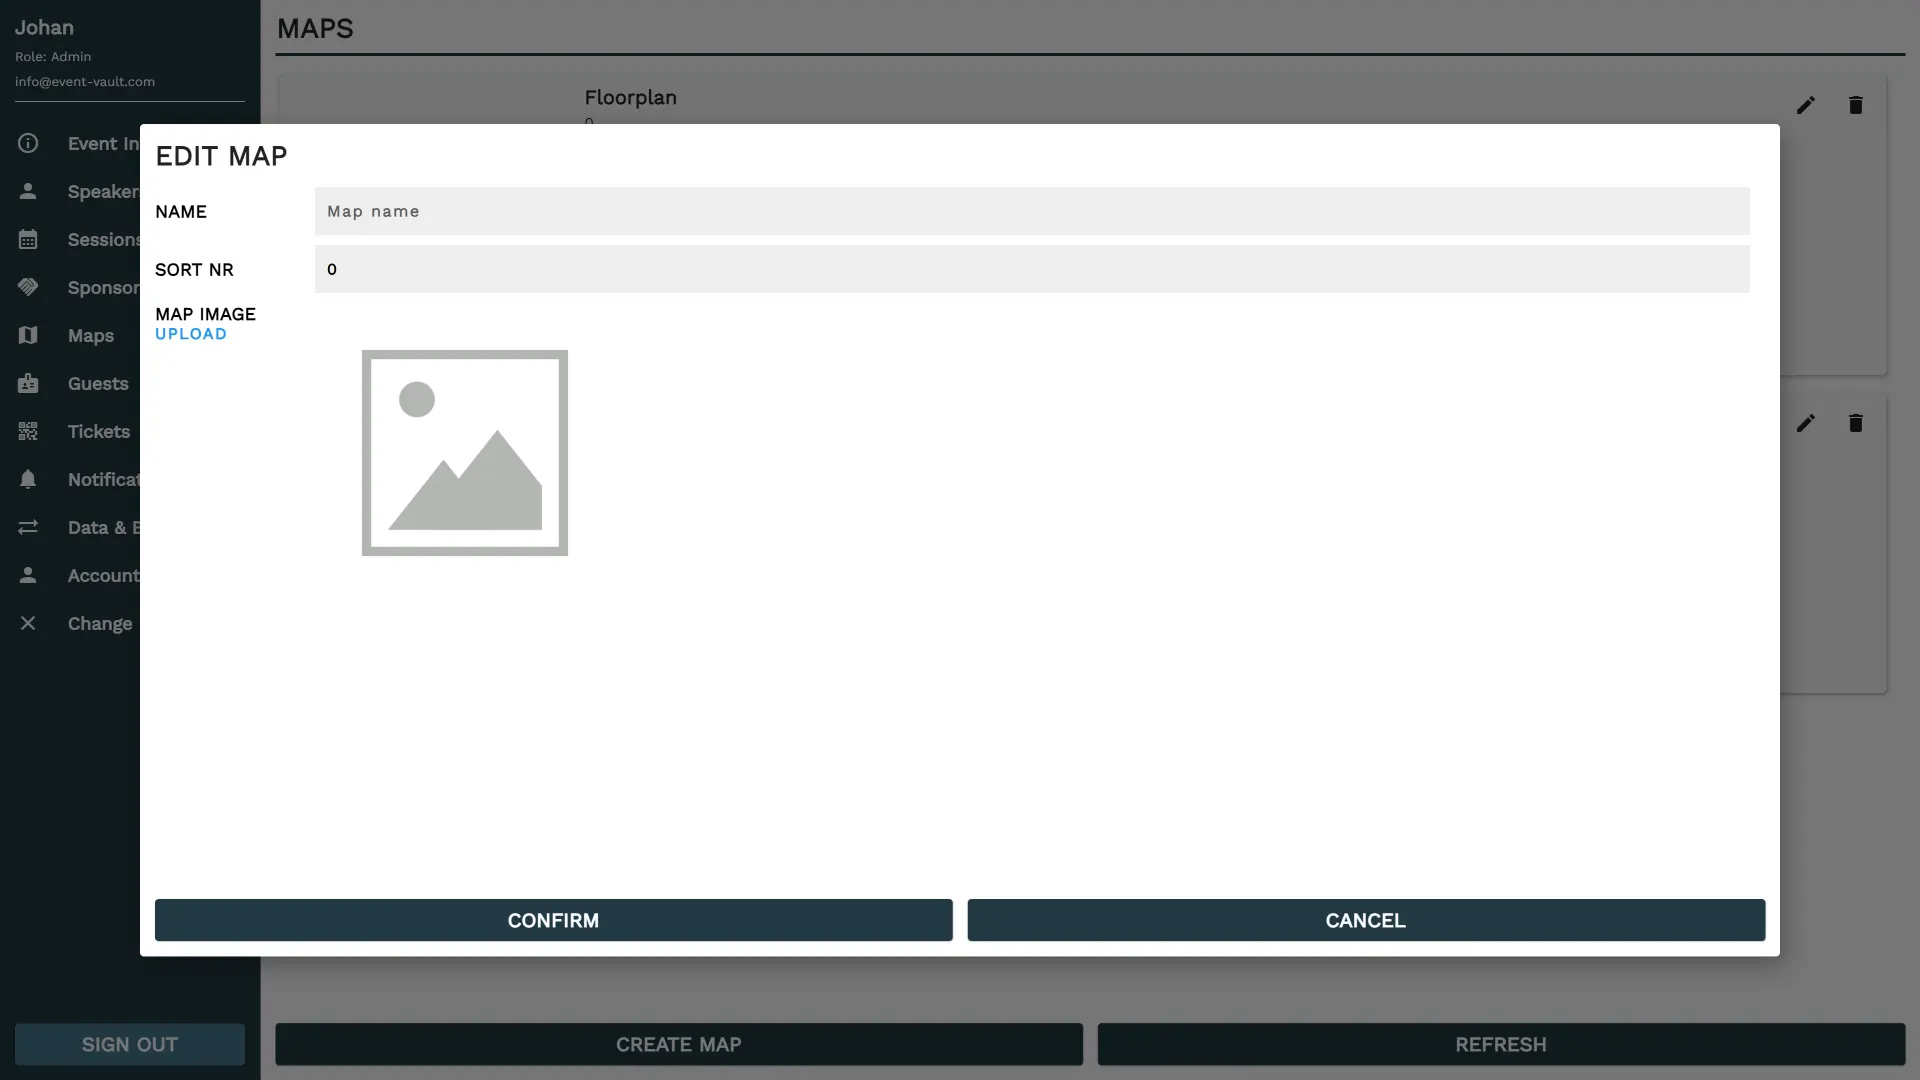
To begin the process of adding a new map, click the 'CREATE MAP' button. This action will open the map creation menu, as depicted in the accompanying image. You can fill in the following fields within this menu:
| FIELD | DESCRIPTION |
|---|---|
| NAME | Input the name of the map for easy identification. |
| SORT NR | Provide a number that will determine the order in which the map appears in relation to other maps. Lower numbers will appear first. |
| IMAGE | Upload the map image that attendees will see when navigating the event. |
These details will be displayed when someone views the map information within the event interface.
To modify or remove a map after they have been added, locate the corresponding 'Edit' or 'Delete' icon next to each map in the map's list. Clicking these icons will enable you to edit the map's details or remove them from the event.